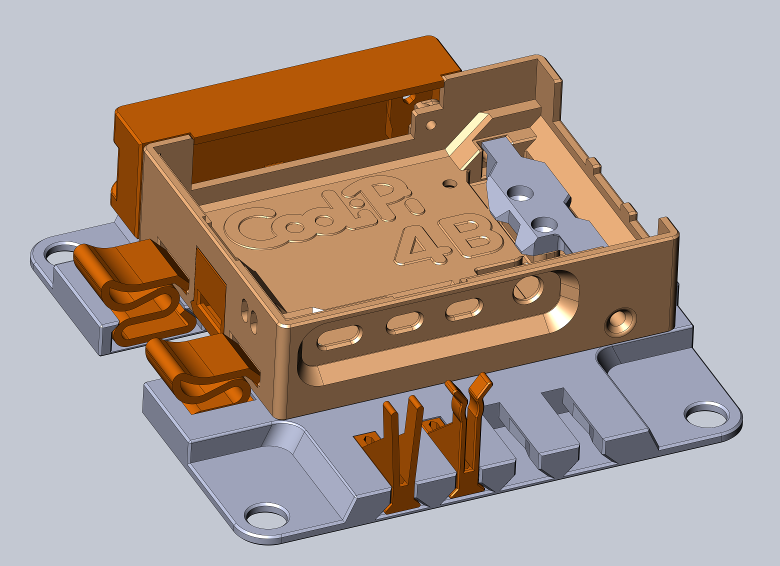
2019/09/29 - 3D files for print finally uploaded to prusaprinters.org


The case, including all 3d printable accessories is opensource. You can print it for anybody, you can even charge fees for printing it to 3rd parties, thus greatly decreasing cost. The fees are yours, we just want to sell our heatsinks and make them as affordable to the customers as possible. We envision a group of partners with 3D printers, printing cases for the local crowd, reselling the metallic parts in volume. Inform the end user about the manufacturer of 3D prints if you print it for them, so that we don't get negative feedback if something wouldn't be optimal. Inform them about 3D model used, i.e. a version, release date or a filename of an archive you used for print.
The case can only be used with our original CooliPi 4B heatsink. If you make a modification or a derived work, distribute our original model files along with it or refer to the original files at our website. If you retain sensoreq logo intact and visible, you don't have to distribute the files, just inform the end users about a version (a filename) of the 3D models used for print, so that they can download it and fix something in the case they'd need to. Print a broken part for example.

Evaluating before you buy and printing your case.
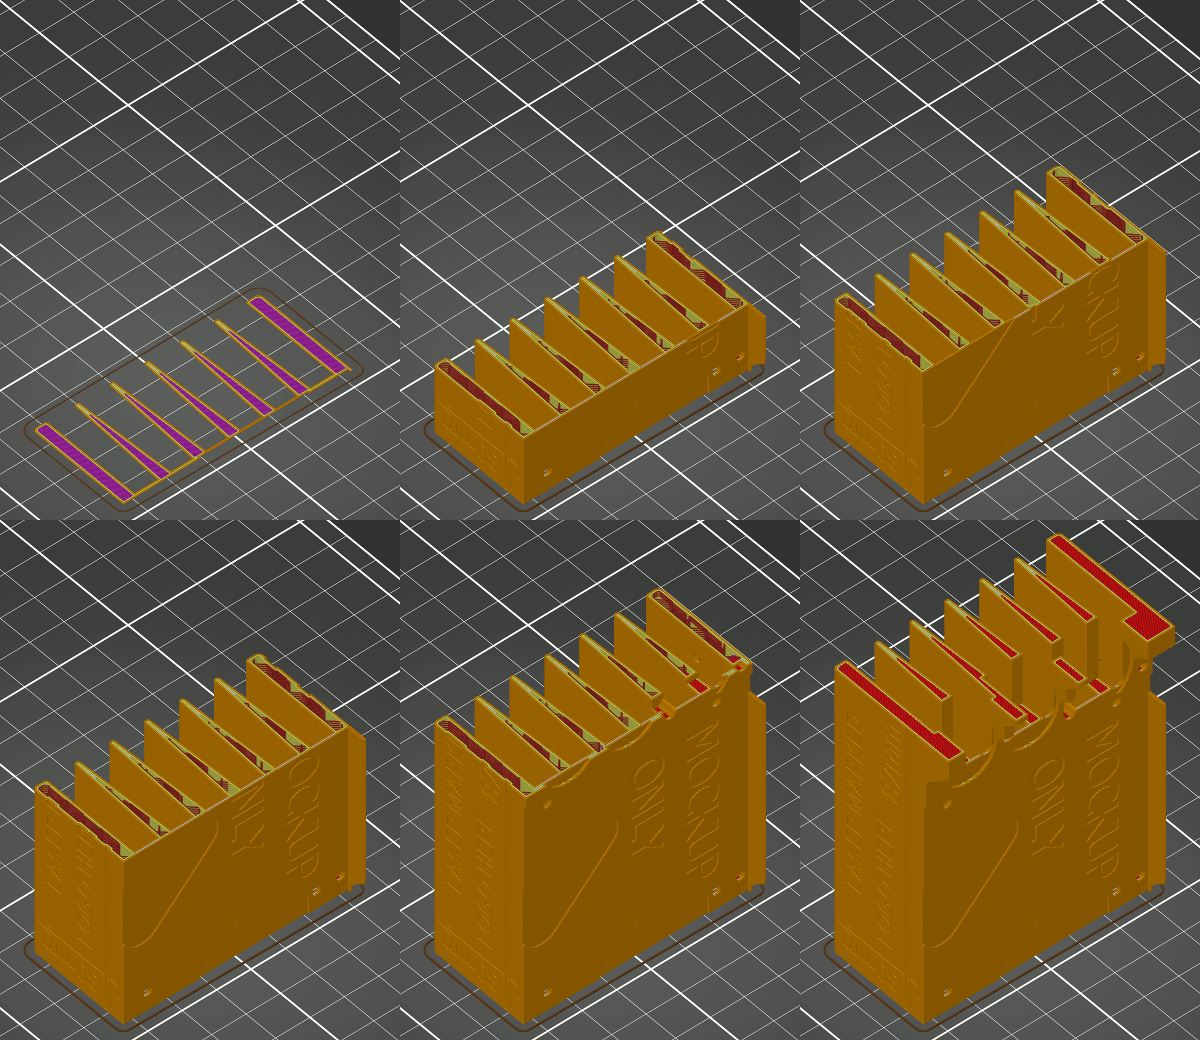
3D printing allows you to evaluate our case and even a heatsink before you make a buying decision. You can buy only the heatsink and optional kits then. We've included a 3D model of a heatsink mockup, so that you can print it with the intended final colour (blue, black or silver/gray) and test an assembly of a case, a Raspberry Pi and a heatsink. It costs you only some filament and printing time.
Printing guide
Get to know how much you need to increase dimensions in your slicer for the prints to shrink at ambient temperature. Prints from FDM printers with a heatbed shrink a bit after cooling. Our Prusa i3 MK3 needs the model to be increased in the slicer about 0.3% for PETG material to account for this.
A mockup of the heatsink is hosted here at prusaprinters.org


We recommend to start printing a heatsink mockup first. Select your preferred colour (a colour closest to the colour of our anodised aluminium heatsinks) , increase the model size in slicer, position it correctly with the appropriate side down and set the lowest fill percentage. Quality of print is your decision. Print it.
After it cools completely, you can check if the length of the heatsink is the intended value – 87mm. It should be 66mm wide and up to 40mm high. Smaller print than nominal isn't a failure, because it'd fit inside the case rectangular cutout.
The problem would be if a print of the case itself was smaller. It has some 0.4mm dilation reserve between the heatsink and a case, but don't rely on it. Fine tune the ratio and arrange the models of the case according to our plan. If you own a Prusa printer, you can load a whole set as a project. It's already scaled, it has an additional 0.3% elongation inside.
A CASE model is hosted here at prusaprinters.org


You can test the heatsink mockup with your Raspberry Pi 4 model B. If you don't dislike the heatsink so far and want to print the case itself, download and open the CASE project, fine tune your preferred print settings and print it.
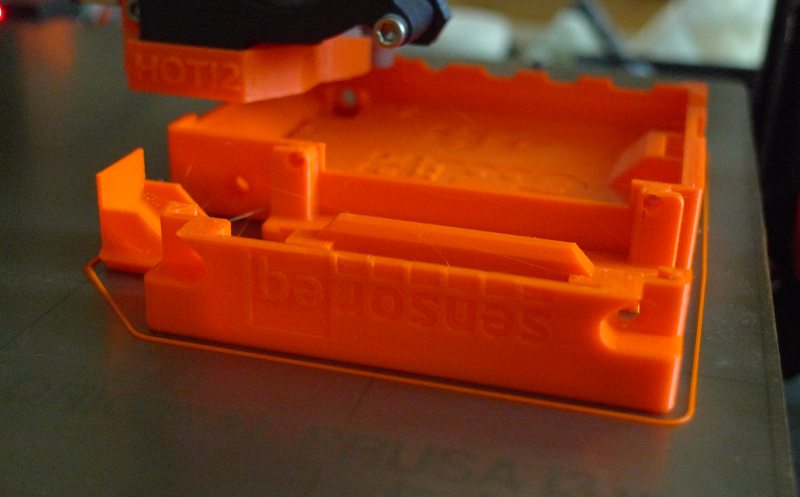
Because of tight tolerances of the two covers against the case itself, we place them the closest possible to the mating part and print it all together. This way it ensures that ambient temperature AND a print axis is the same for the two mating sides, thus minimising elongation problems with temperature drift. Make a set of a case and the GPIO and microSD cover parts surrounding it. Don't mix parts from various prints if possible, or at least don't expect they'd fit if they were printed with different temperatures or axes (some printers may have slightly different backslash in each axis).
After printing and cooling, try to insert the microSD cover inside the case. You have to insert and remove it about 10 times for it to go easy and even click on insertion. Maybe a flat screwdriver would be necessary to help remove it the first few times.
The GPIO cover is far more easy. It may be even beneficial that it has a bit of resistance. You don't have to secure it by screws then. The tall boxes are just milestones, so that the printing head goes over them and does not string on the outside of the case. They have no other function.


VESA mount is a base for the case, it can snap-on the base via grooves in it. It also has a cable holder, thereby lowering the risk of breaking these micro connectors. It can lay on the table as well as to be fastened to a monitor via four screws with a standard 100x100 mm spacing. The chosen hole diameters of 8.5mm allow to use screws up to M8. Smaller diameters can require a reduction adaptors, but we presume you can easily model and print them yourselves. Some TVs have different diameters for two screws of the four, so for example they have 2x M8 and 2x M6 screws. We don't supply models for reductors for this reason. We presume you'd email us if needed.

