Overclocking the Raspberry Pi 4
Overclocking Raspberry Pi 4 is a welcomed feature. It is not without caveats, however. To maximise frequency and reliability, good cooling is necessary. That's why CooliPi 4B came in, to be the best heatsink/case able to allow it.
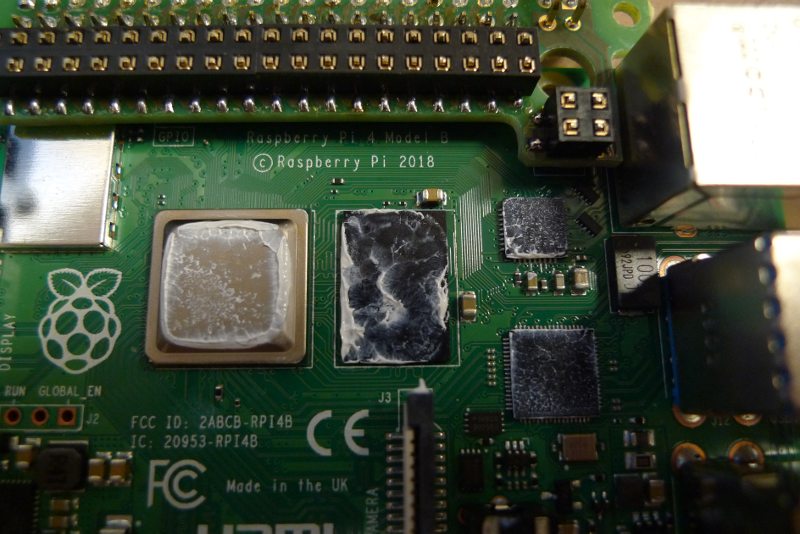
Thermal grease is necessary to obtain a good contact between touching chips (BCM, ETH, USB) and a heatsink itself. Our test were done with a stock, cheap and old white thermal grease you can see on the chips. It has remarkably lower performance than a good thermal grease from selected manufacturers. With MX-2 or an even better paste, the temperatures under load can go down further about 3-4˚C compared to the stock white paste.
Because of a direct contact of the heatsink with BCM, USB and ETH chips, heat transfer can be the best. But there's a caveat, the chips on different Raspberry Pis may have slighly varying heights and tilts, because of manufacturing. Thermal paste fills in voids and makes a good contact. Using thin thermal rubber is also possible. The DDR4 memory chip is 0.05mm farther apart from the heatsink than the three main chips - BCM, ETH PHY and USB HUB. But it has lower consumption, so filling the space with thermal paste may be enough to ease heat transfer, even though it'd be thick.
When investigating thermal performance, we came to a a hotspot forming right where the PMIC is. It was planned from the beginning to sell an overcloking set, which would contain thermal bridges between the rest of the hot chips - WiFi cage, PMIC and it's inductors and DDR4 memory. PMIC chip is very hot especially when overclocking.
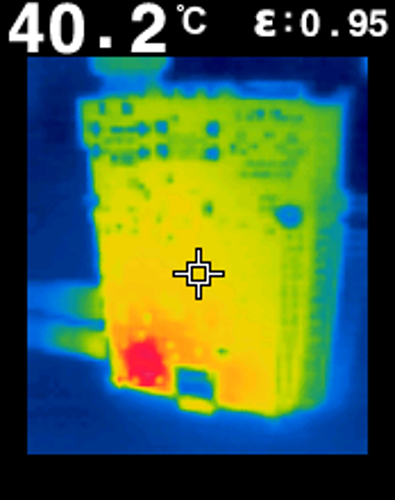
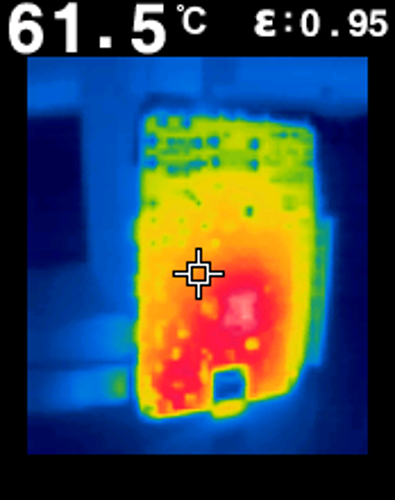
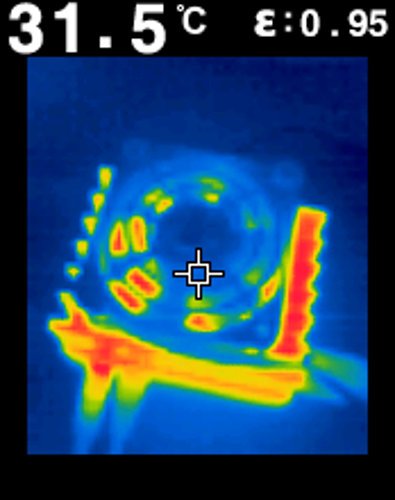
Bottom view of thermal hotspots without an additional PMIC cooling on the left and no heatsink at all on the right. After bridging the PMIC with a heatsink over a small copper plate, stability with all 4 core load was increased at 1850MHz. Higher frequencies resulted in rebooting with over_voltage=3, but not with over_voltage=2. So we came to the conclusion, that the limit is not only the BCM chip itself, but also the PMIC chip. High temperatures and output current drive it to the edge.
You can see thermal performance without a heatsink on the right picture. Absolute color scale may be different, but not confirmed. Different distribution of hotspots can be seen very well.
We plan to offer the small, laser cut thermal bridge for the PMIC in an overclocking set. Thermal images with the bridge installed aren't unfortunately available yet, but the testing shows that it helps a lot.
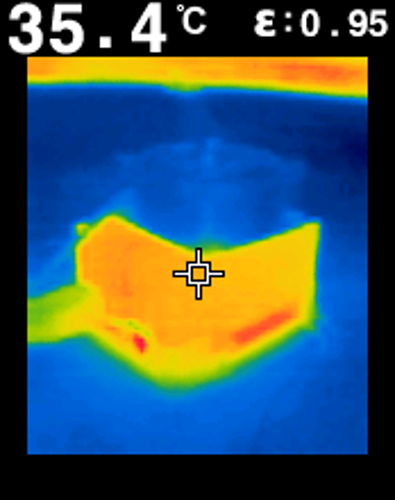
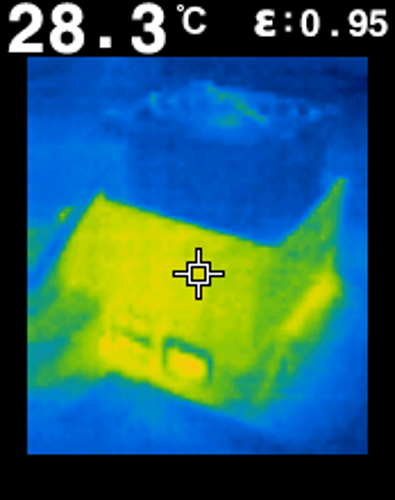
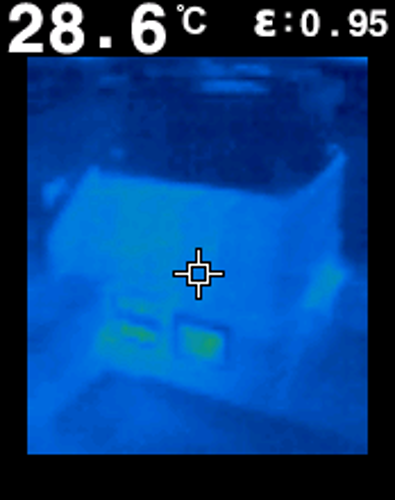
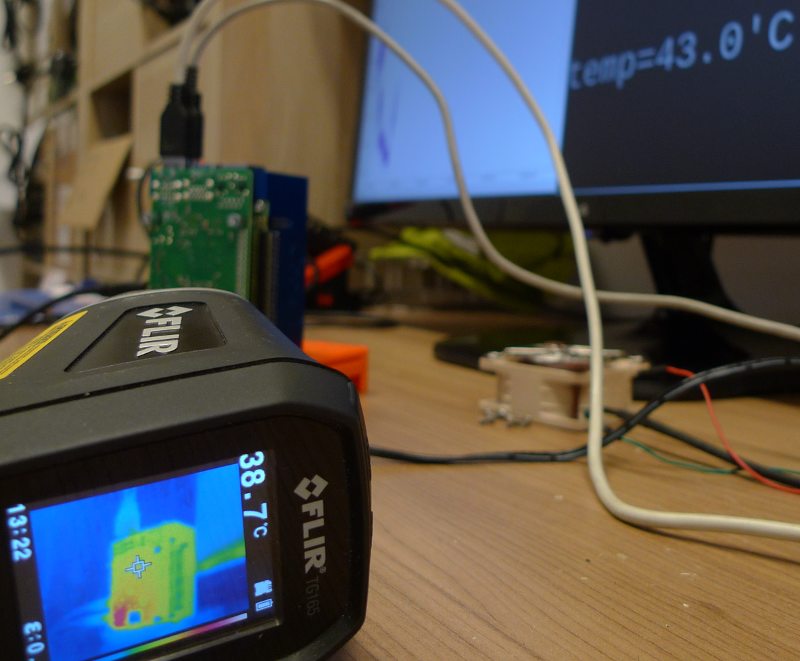
After installing a cold 60mm Noctua 5V fan on the hot heatsink and running it at 3.3V, temperature of the whole stack came fast down. See pictures to the right. Hot line on second picture is an LCD monitor.

